|
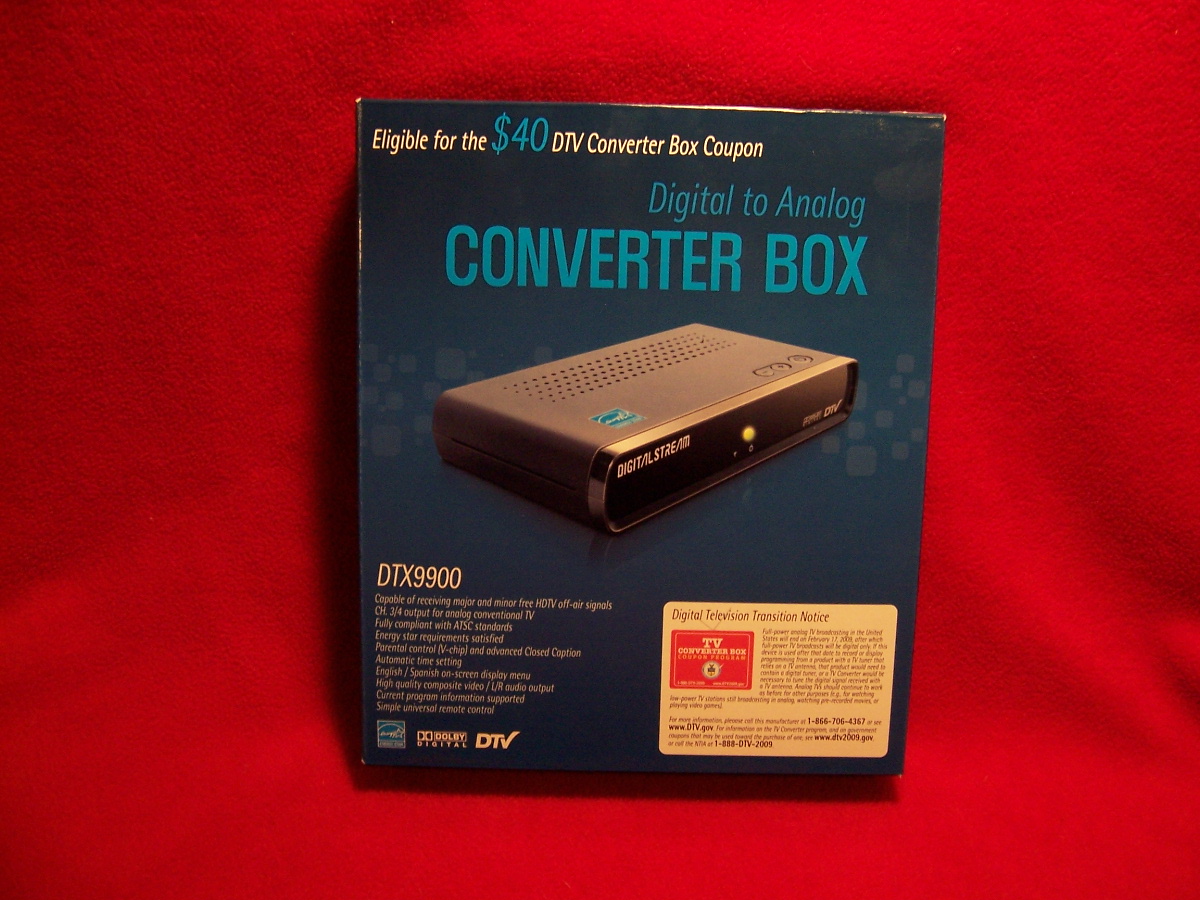
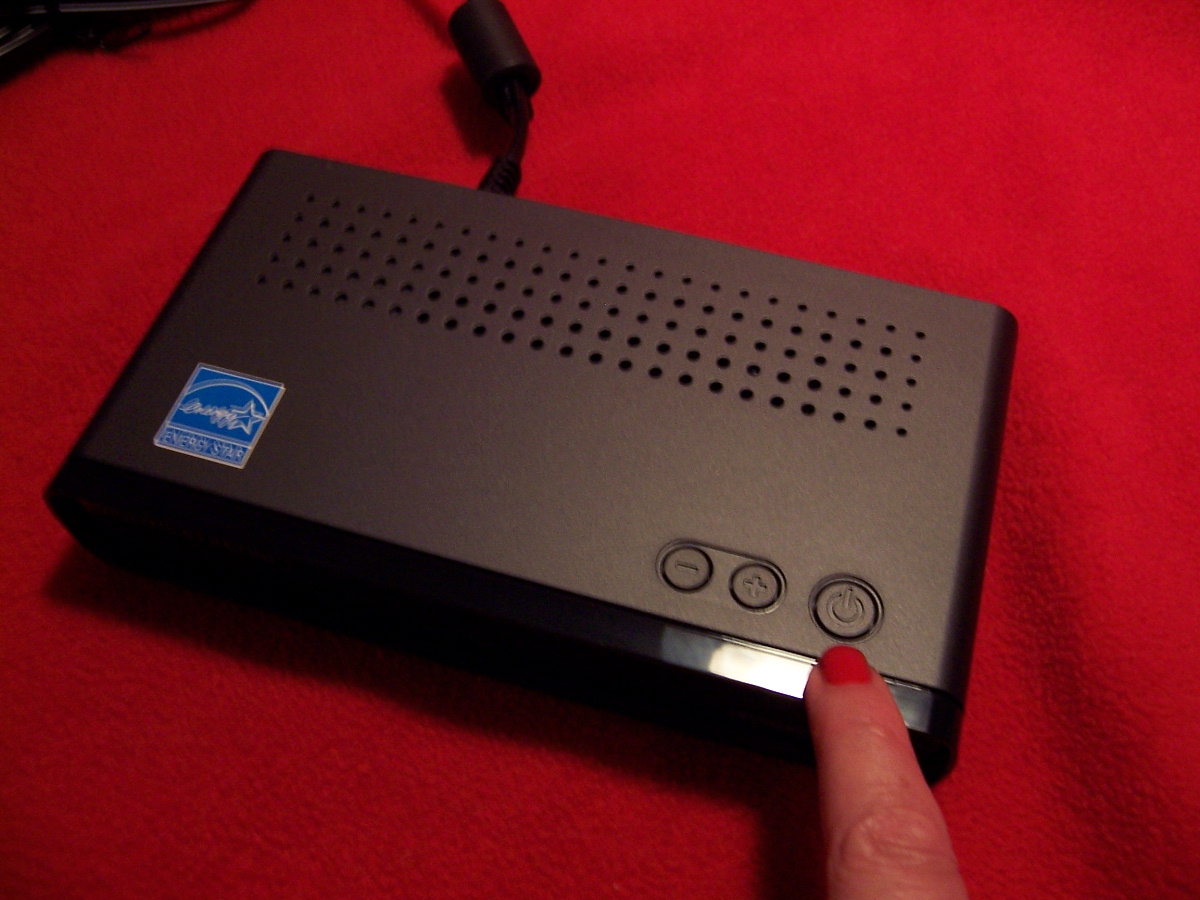
Front of box
|
|
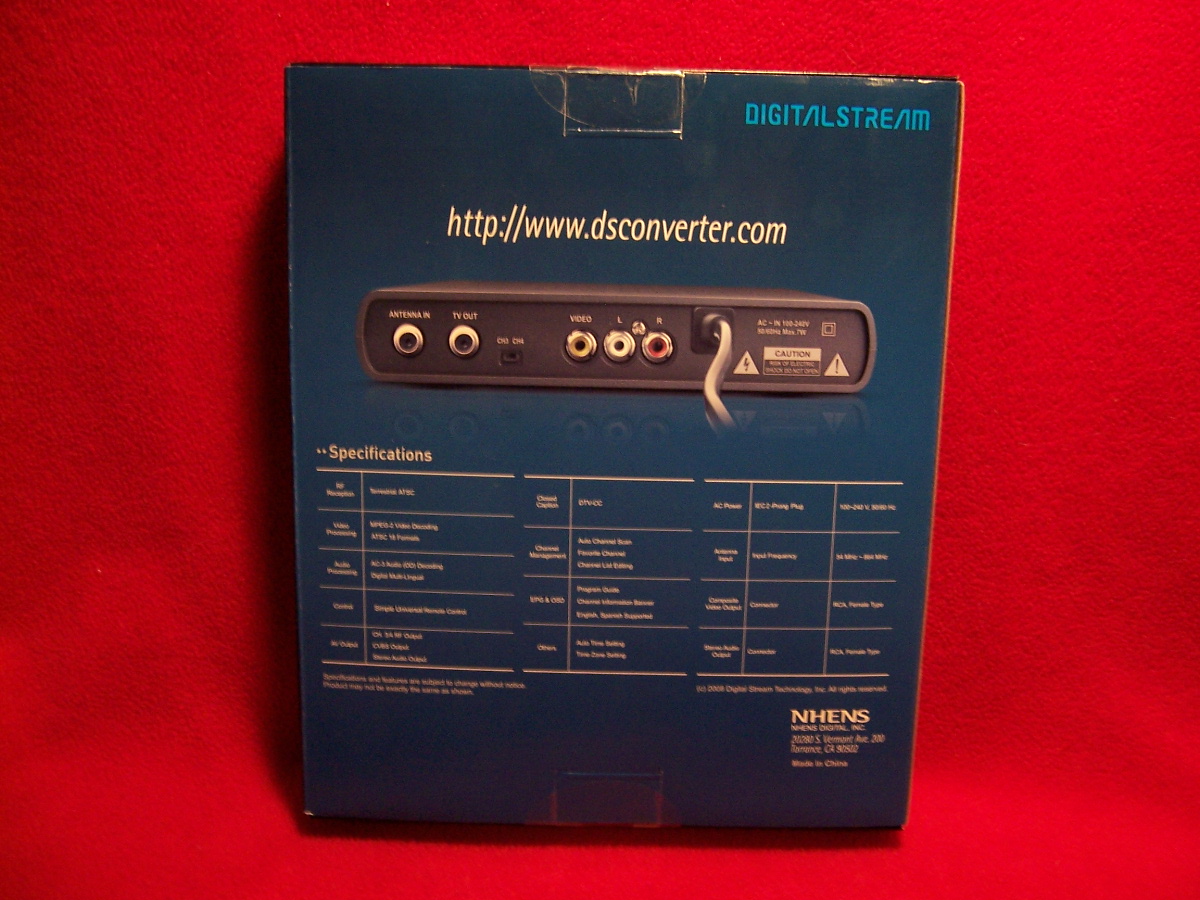
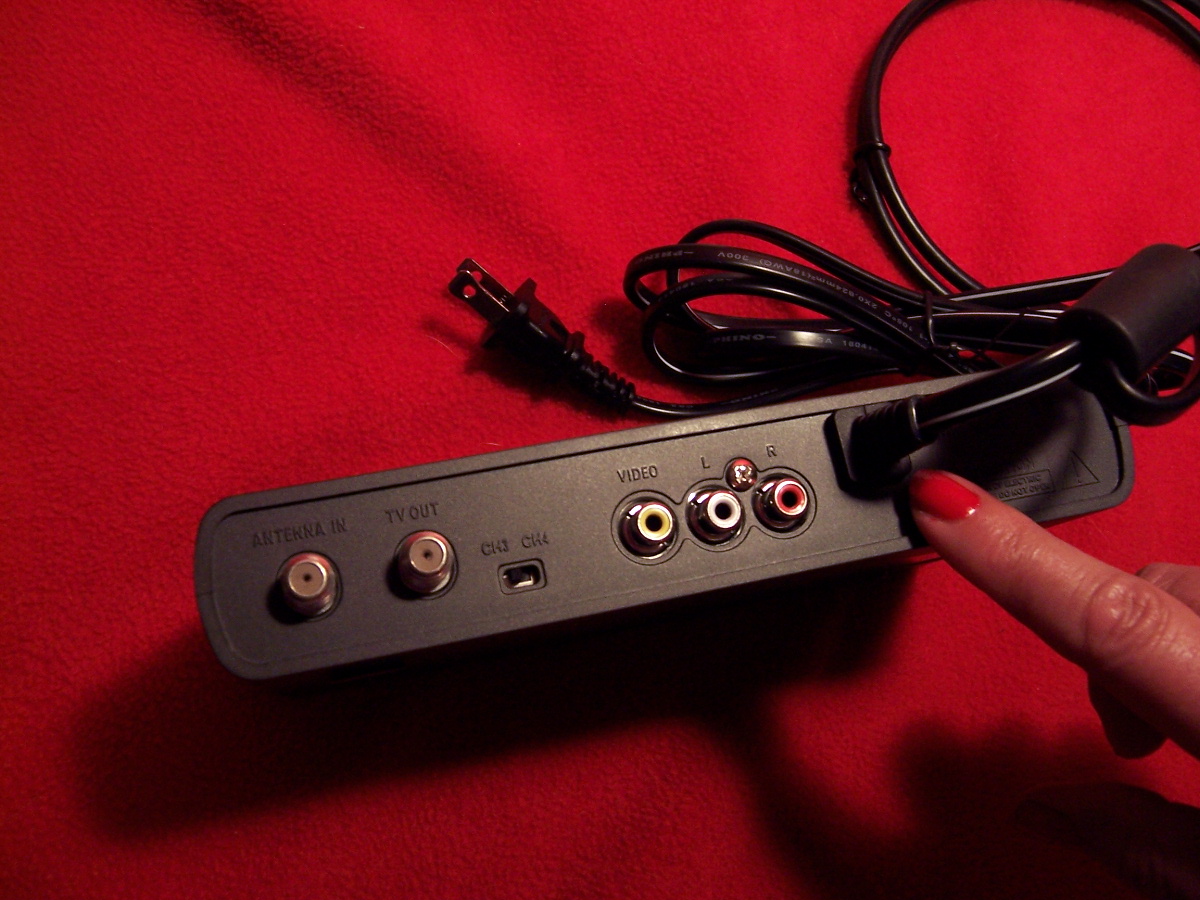
Back of box
|
|
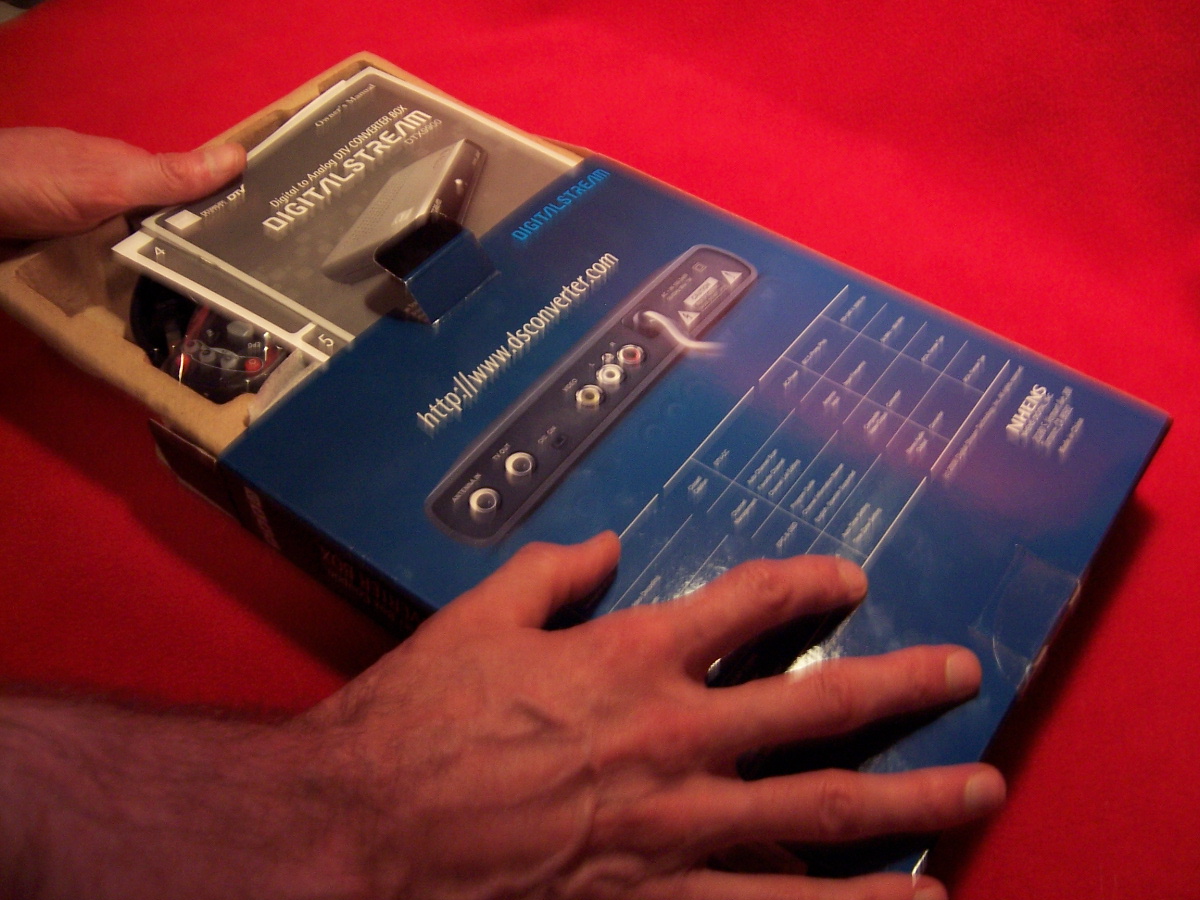
Open the box.
|
|
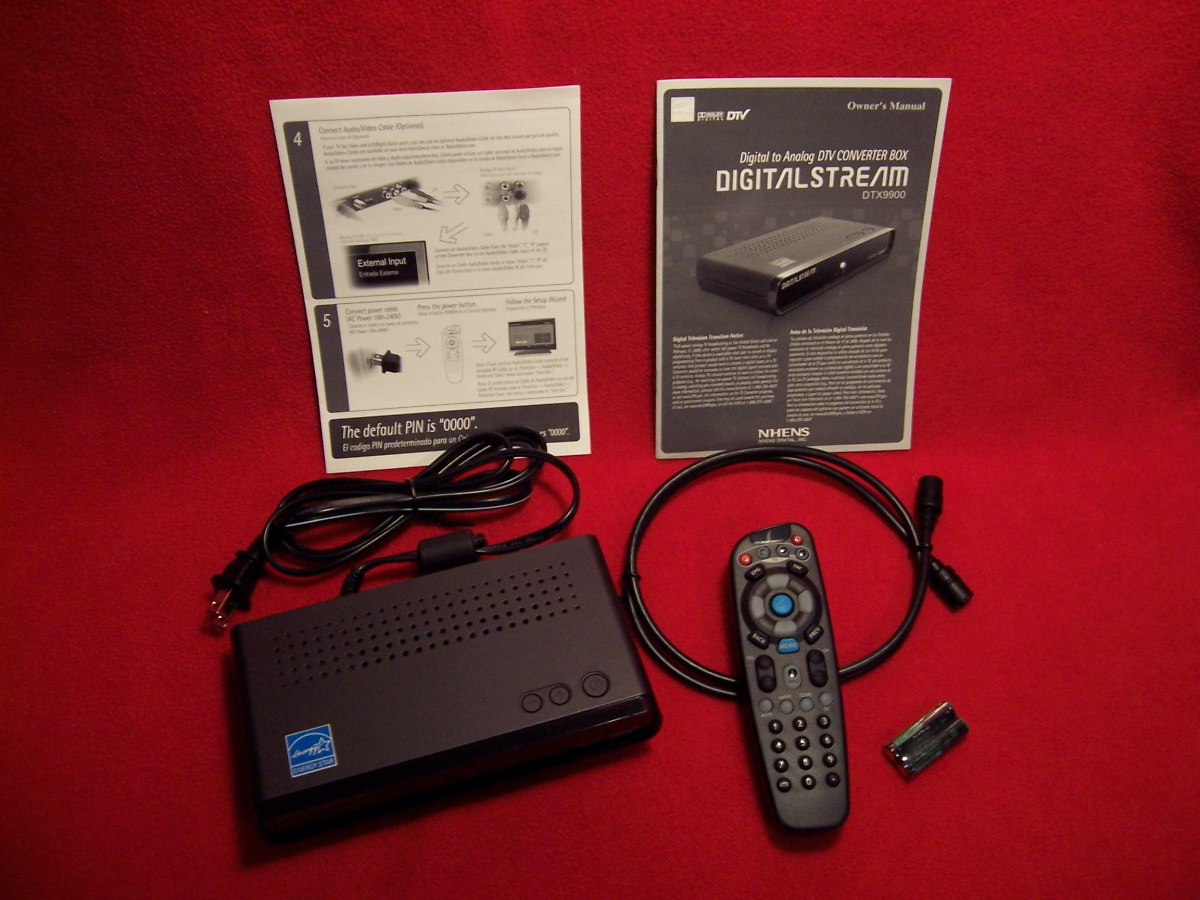
Inside DTX9900 package...
|
|
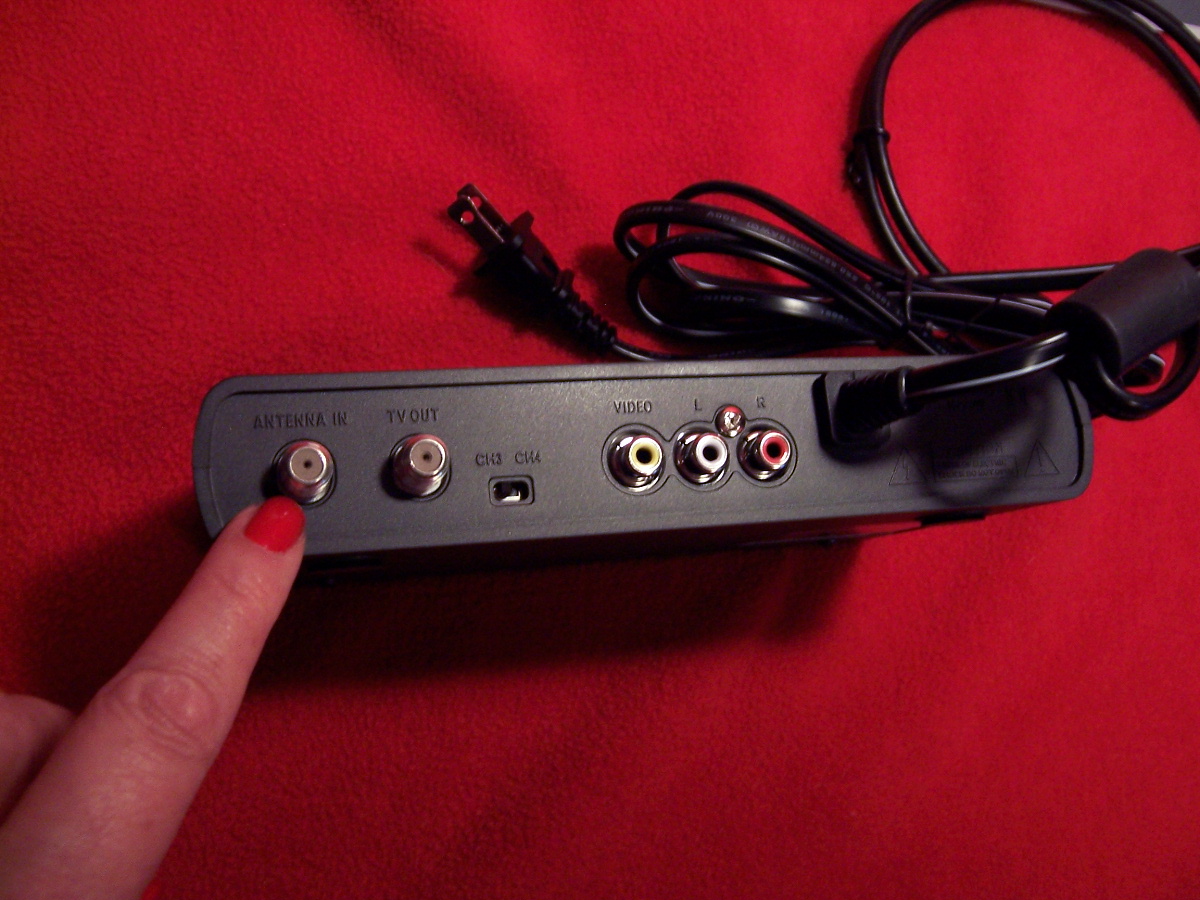
RF input jack on the back of the converter
box. During hardware installation, you'll connect a coaxial cable to this jack. The other
end of the coax goes to your antenna. (Note: "RF" stands for radio frequency.")
|
|
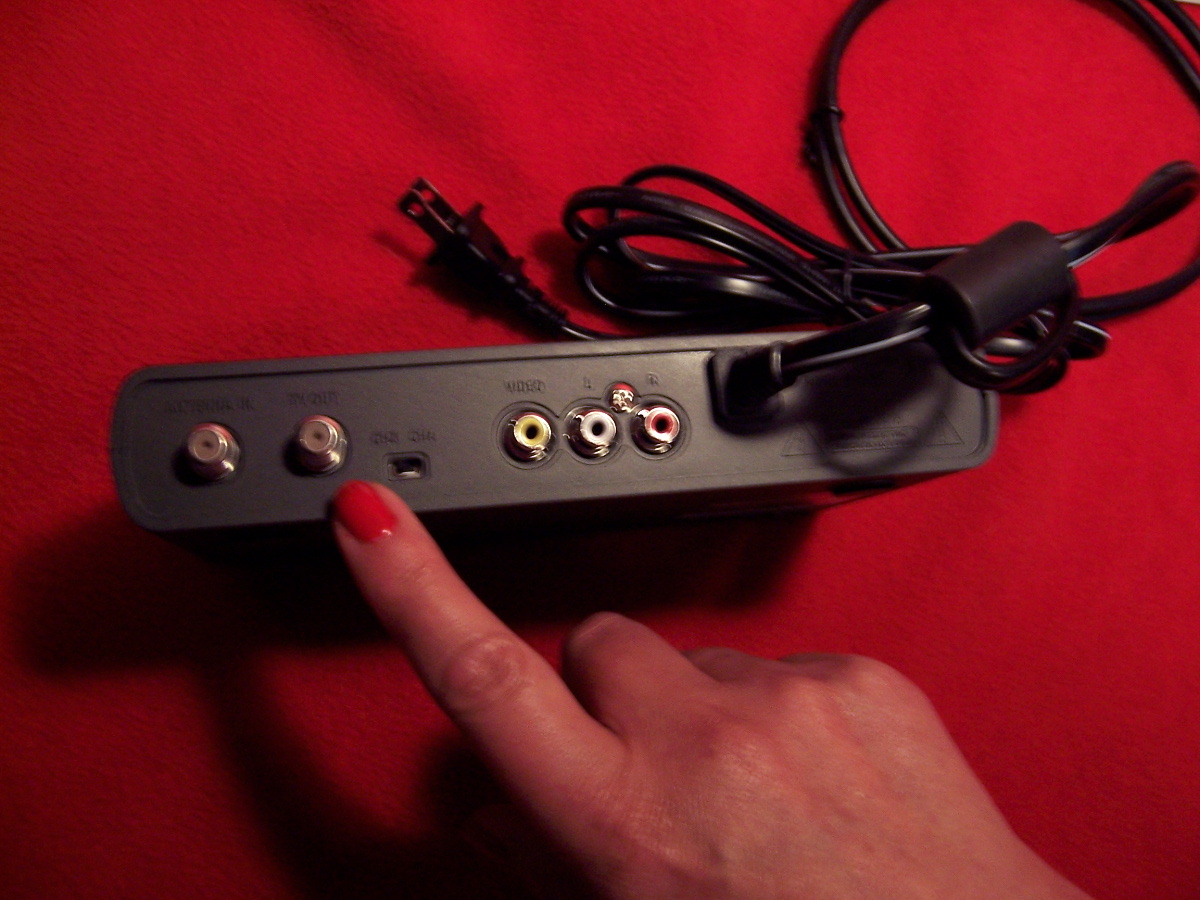
RF output jack on the back of the converter box.
During hardware installation, you'll connect a coaxial cable to this jack. The other end of
the coax goes to your TV set.
|
|
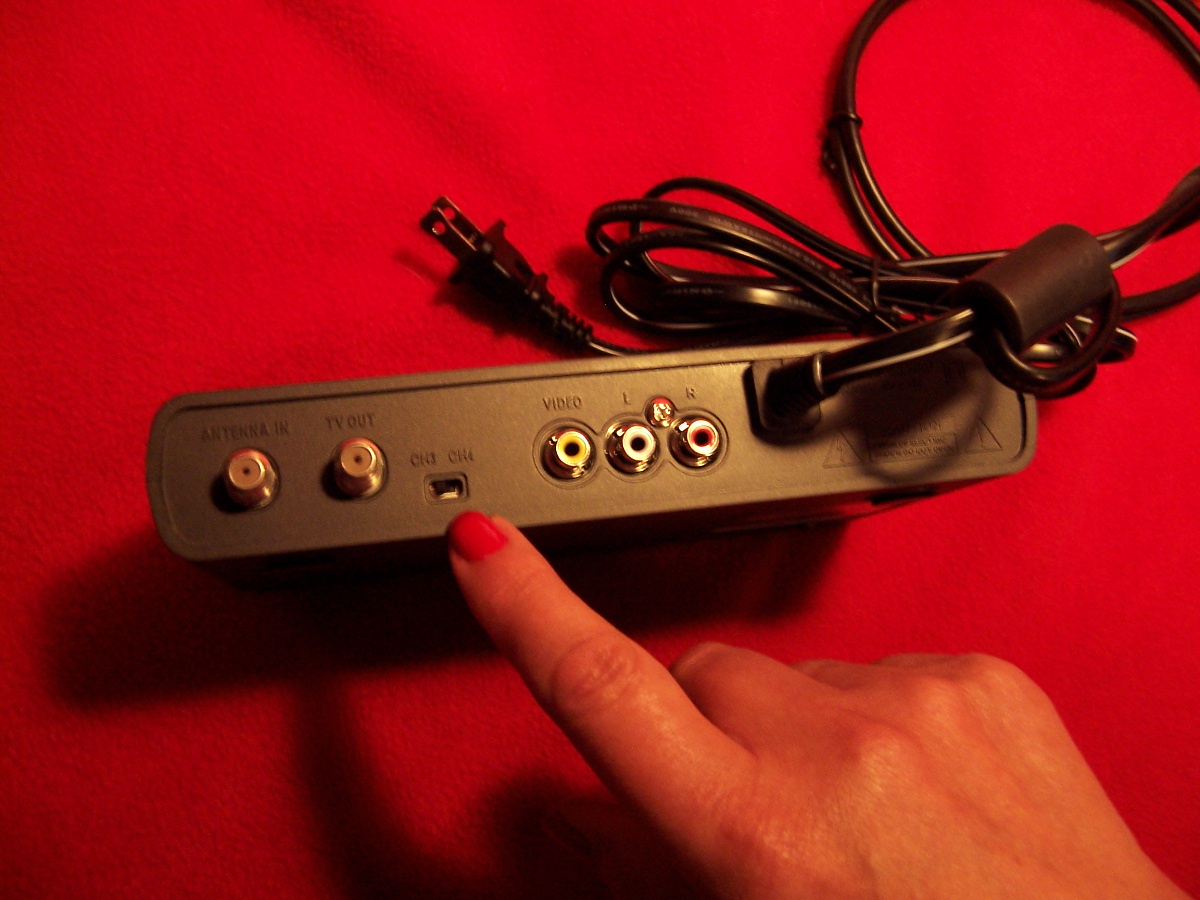
Channel 3 or 4 selector. This is the channel where
your TV receives digital broadcasts. Choose the channel with the least
interference. If you don't know the better channel, leave this switch alone.
|
|
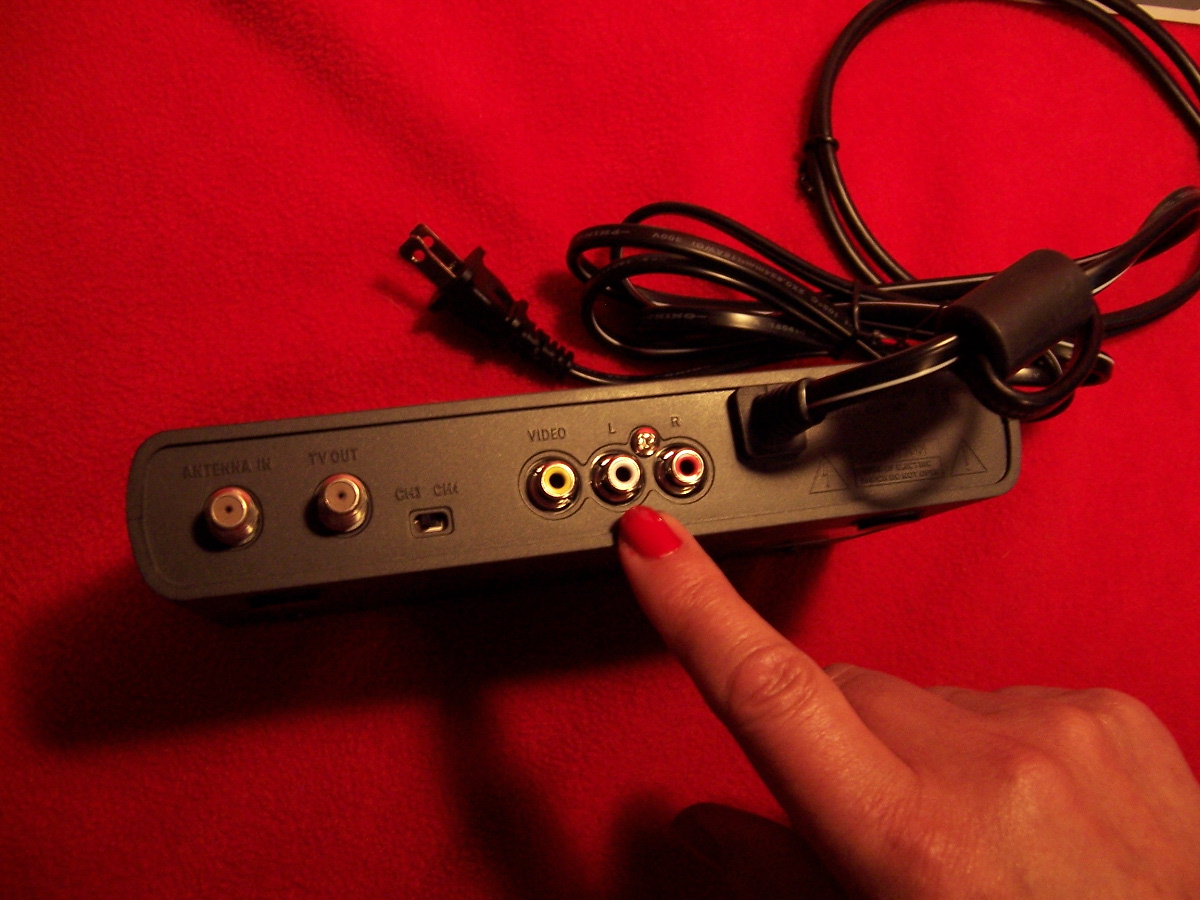
AV jacks on back of converter box, left to right...
|
|
Power cord on back of converter box.
|
|
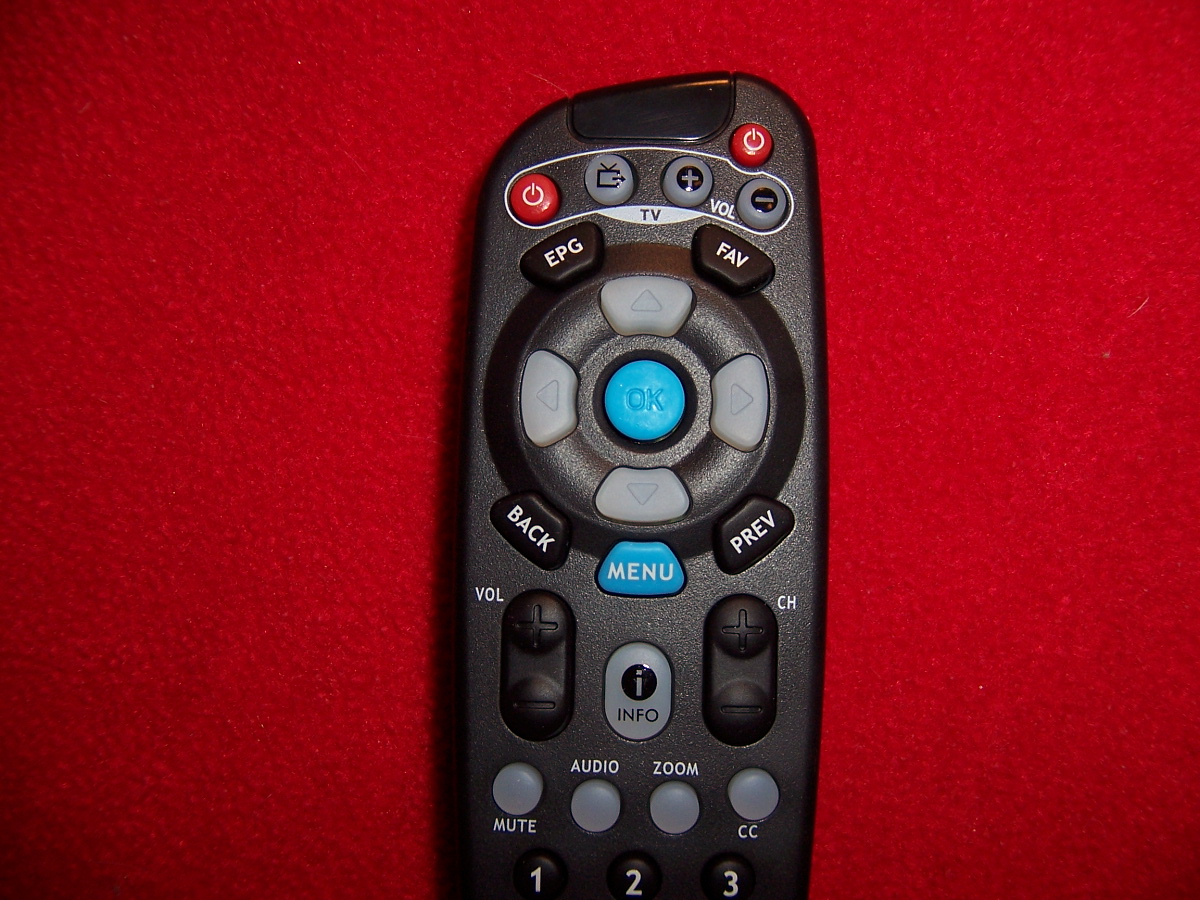
Remote control, closeup. Main features...
|

|
UP and DOWN buttons on converter box.
|
|
Power switch on converter box.
|
Go to Page: 1 2 3 Next